Last night I did something VERY fun.
We are all trying to do a little better with our waste. I am no where near “Zero Waste” but I am going to keep trying. I have been intrigued by Beeswax Wraps for a while now and decided I would try to give it a DIY. After much digging I decided the best method for me was to try and iron. let me show you how it was done 😊
What you’ll need:
100% cotton or linen
Scissors (preferably pinking shears)
Beeswax
Coconut oil
Pine resin (if you can find it, helps with stickiness)

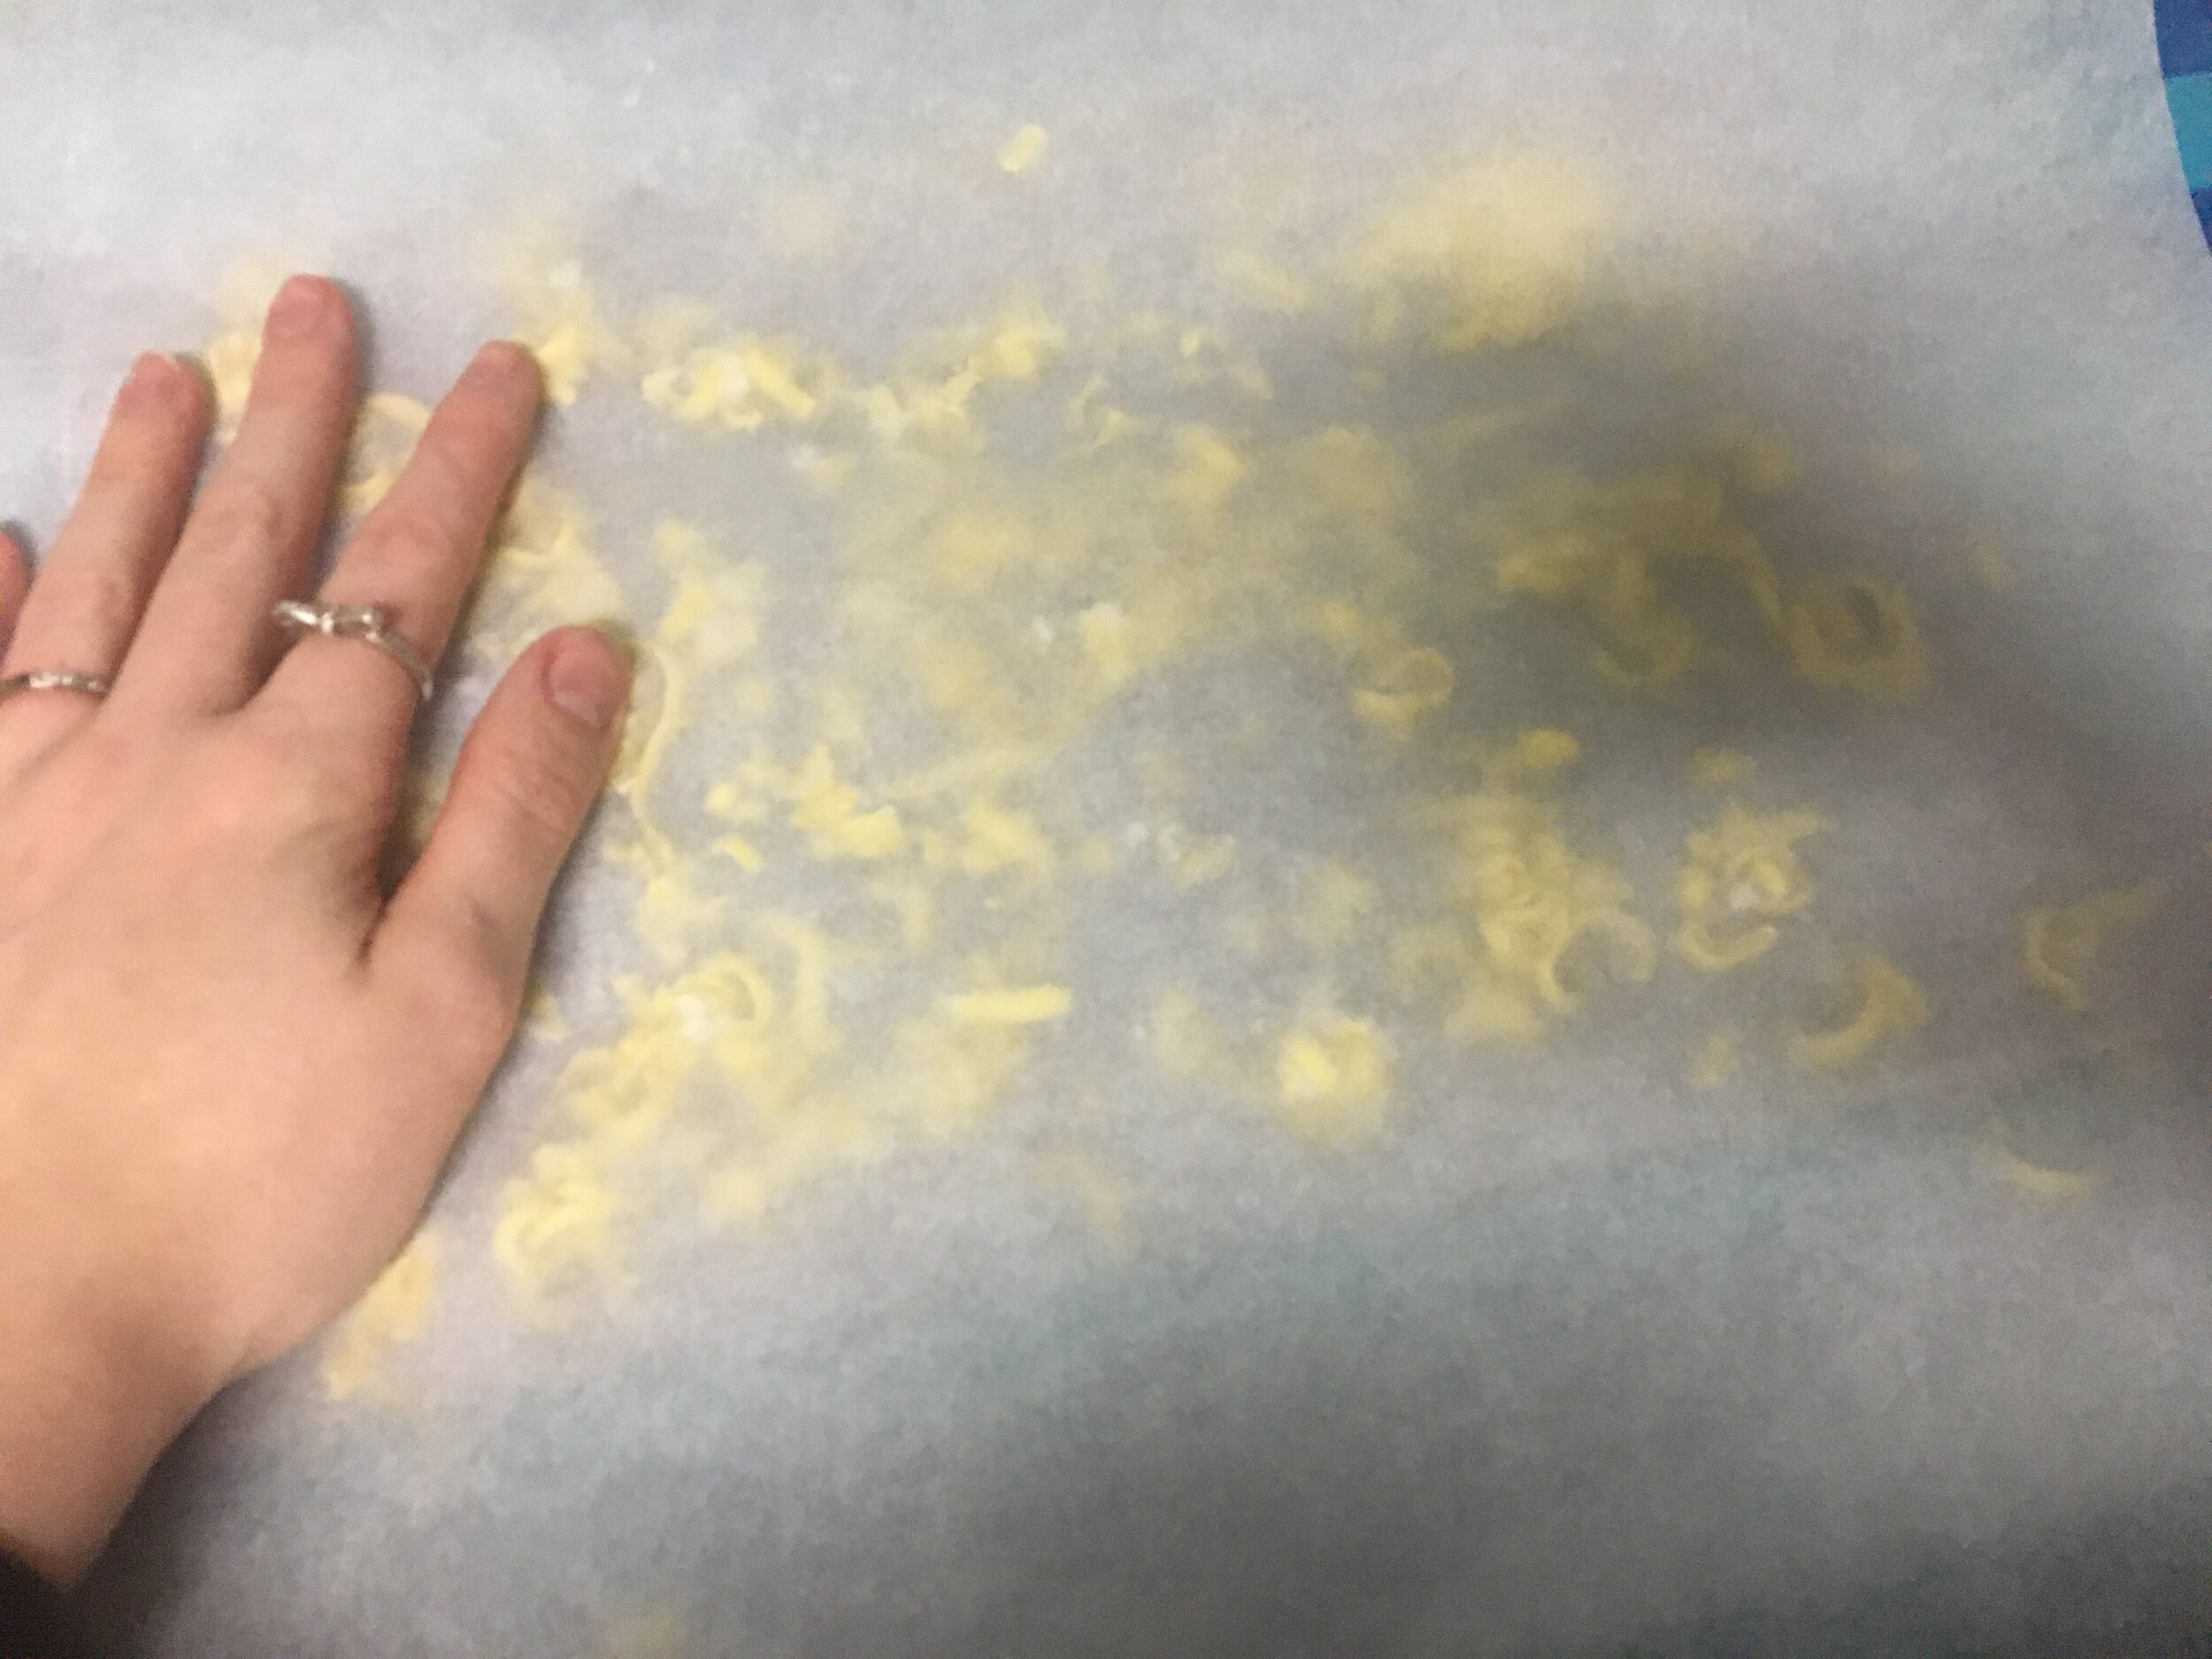
Firstly, lay out some parchment paper to protect your surfaces. You should try to go much larger than your fabric so you don’t get wax on your tabletop.
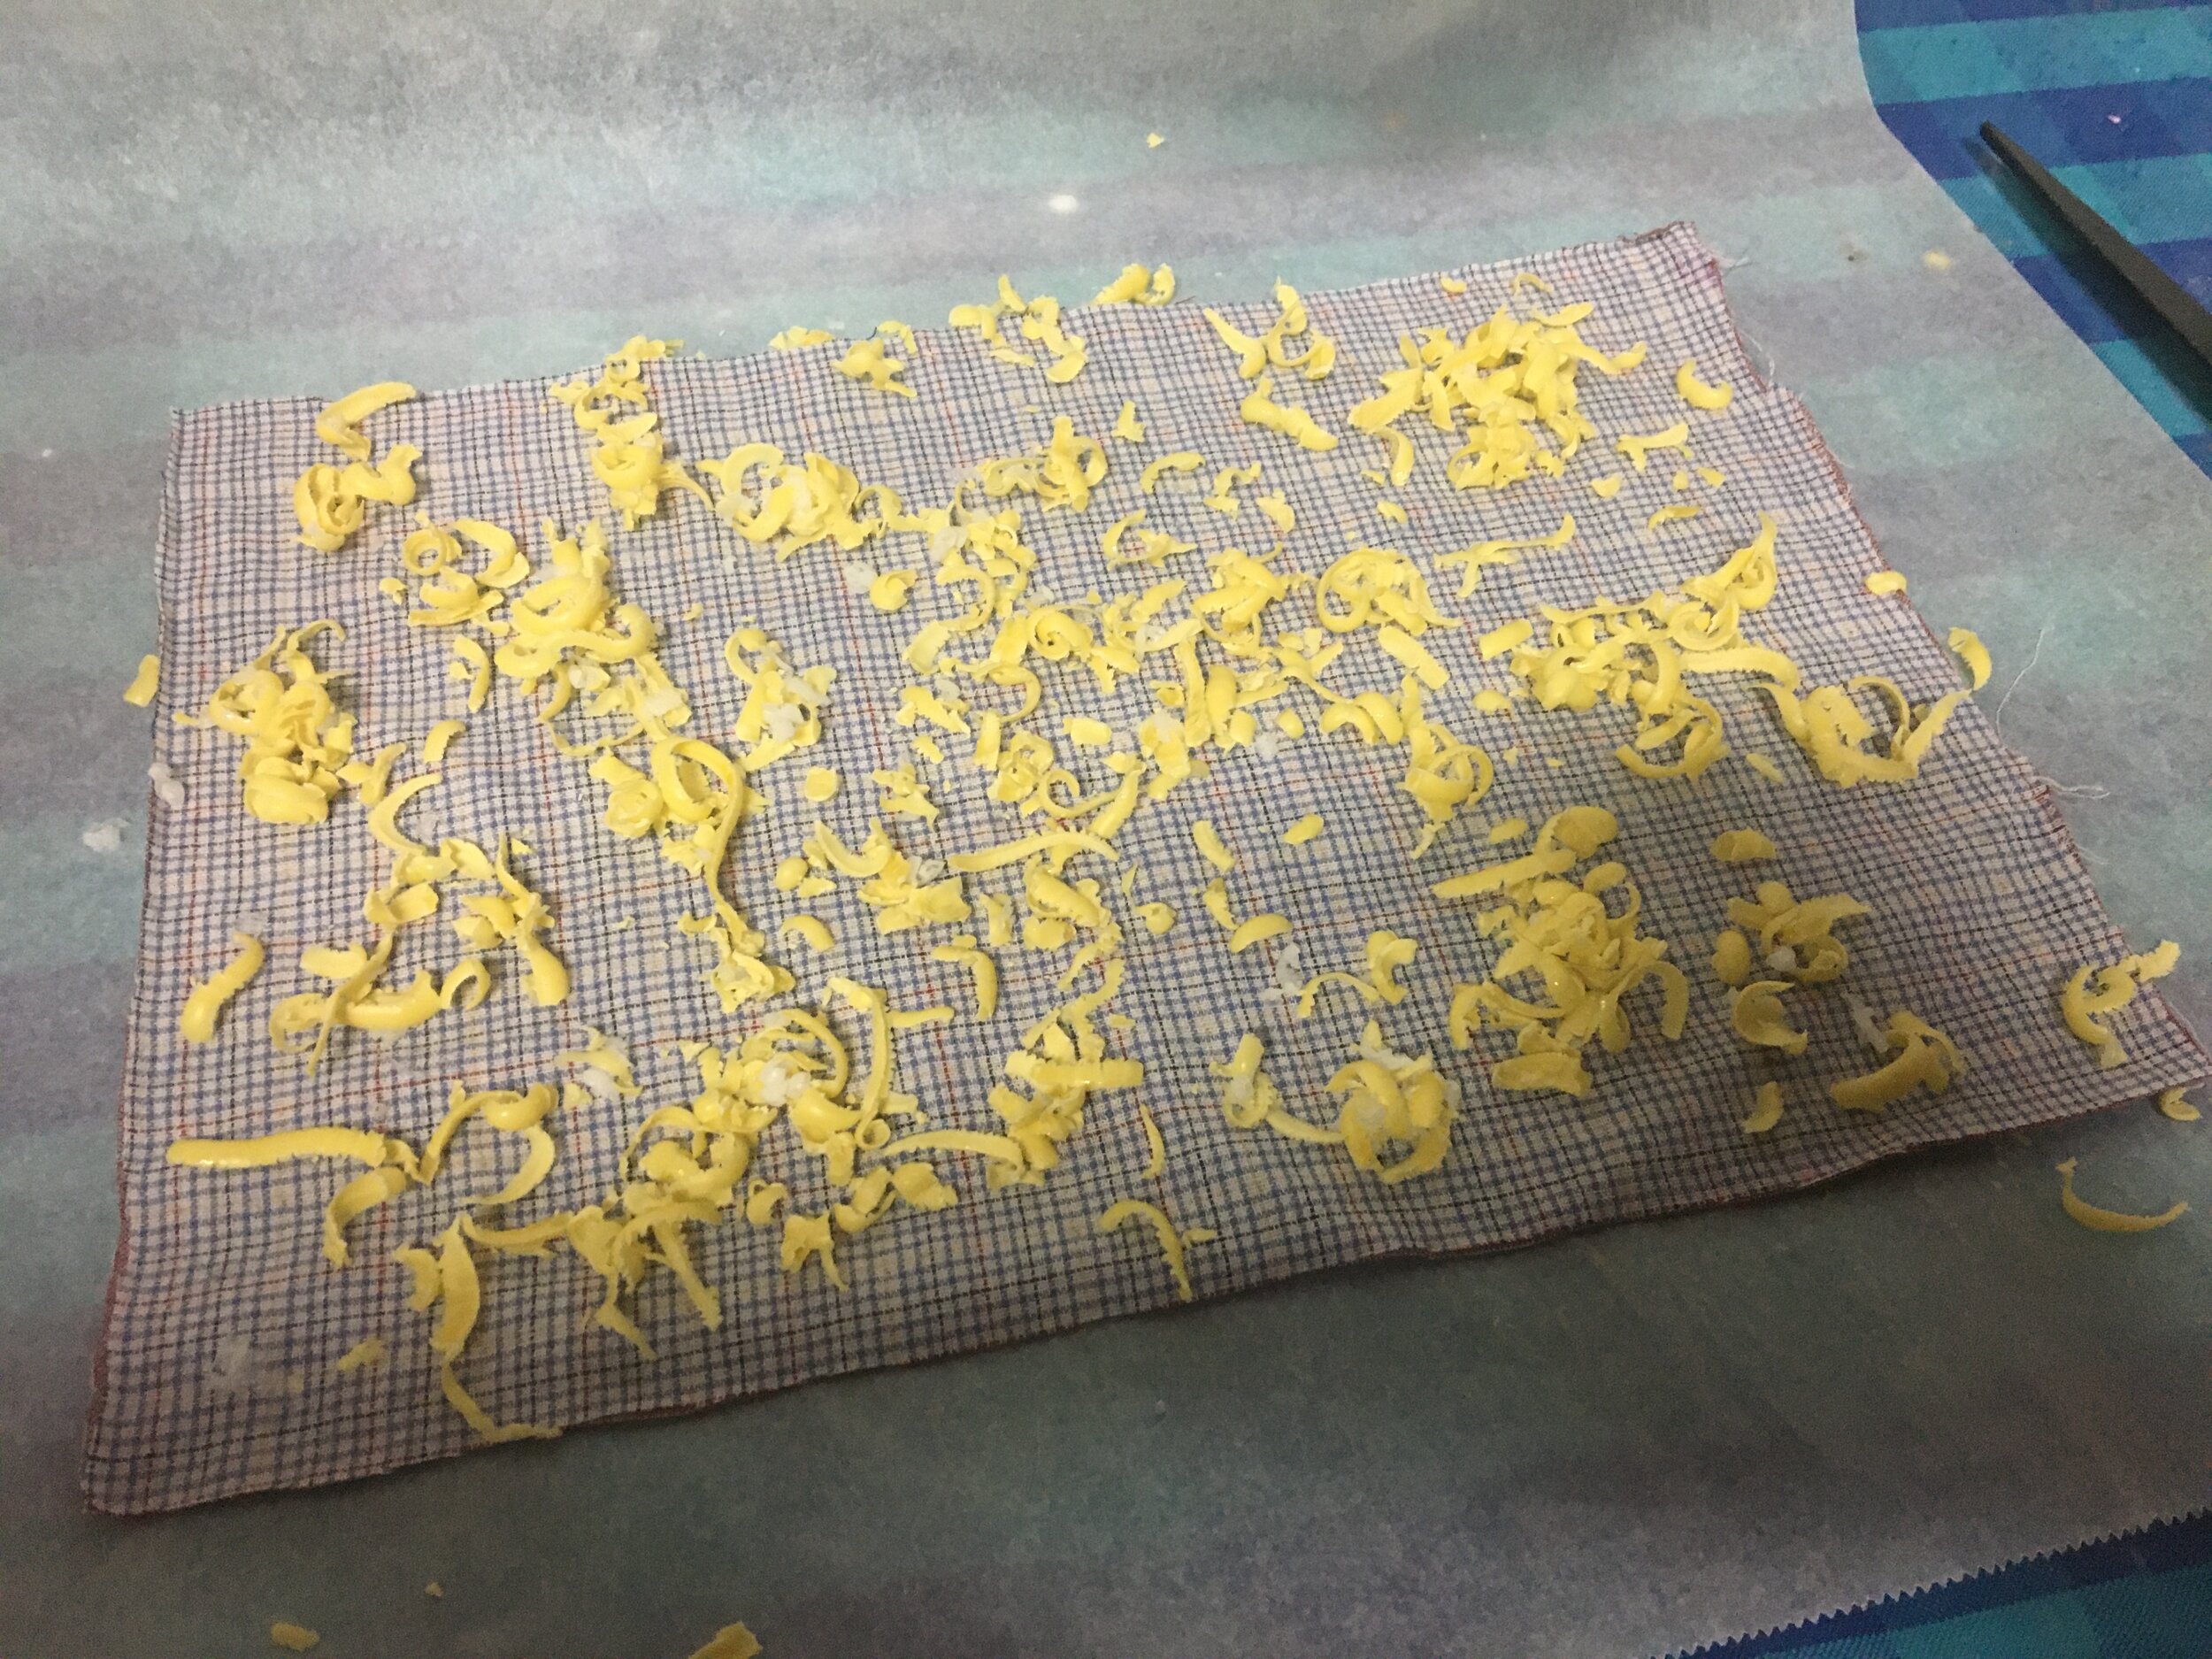
Next, grab your fabric and make your cuts (you can see from the photos I upcycled an old shirt, this is a great option), if they are a bit jagged, that’s ok, you can trim once its hardened too.
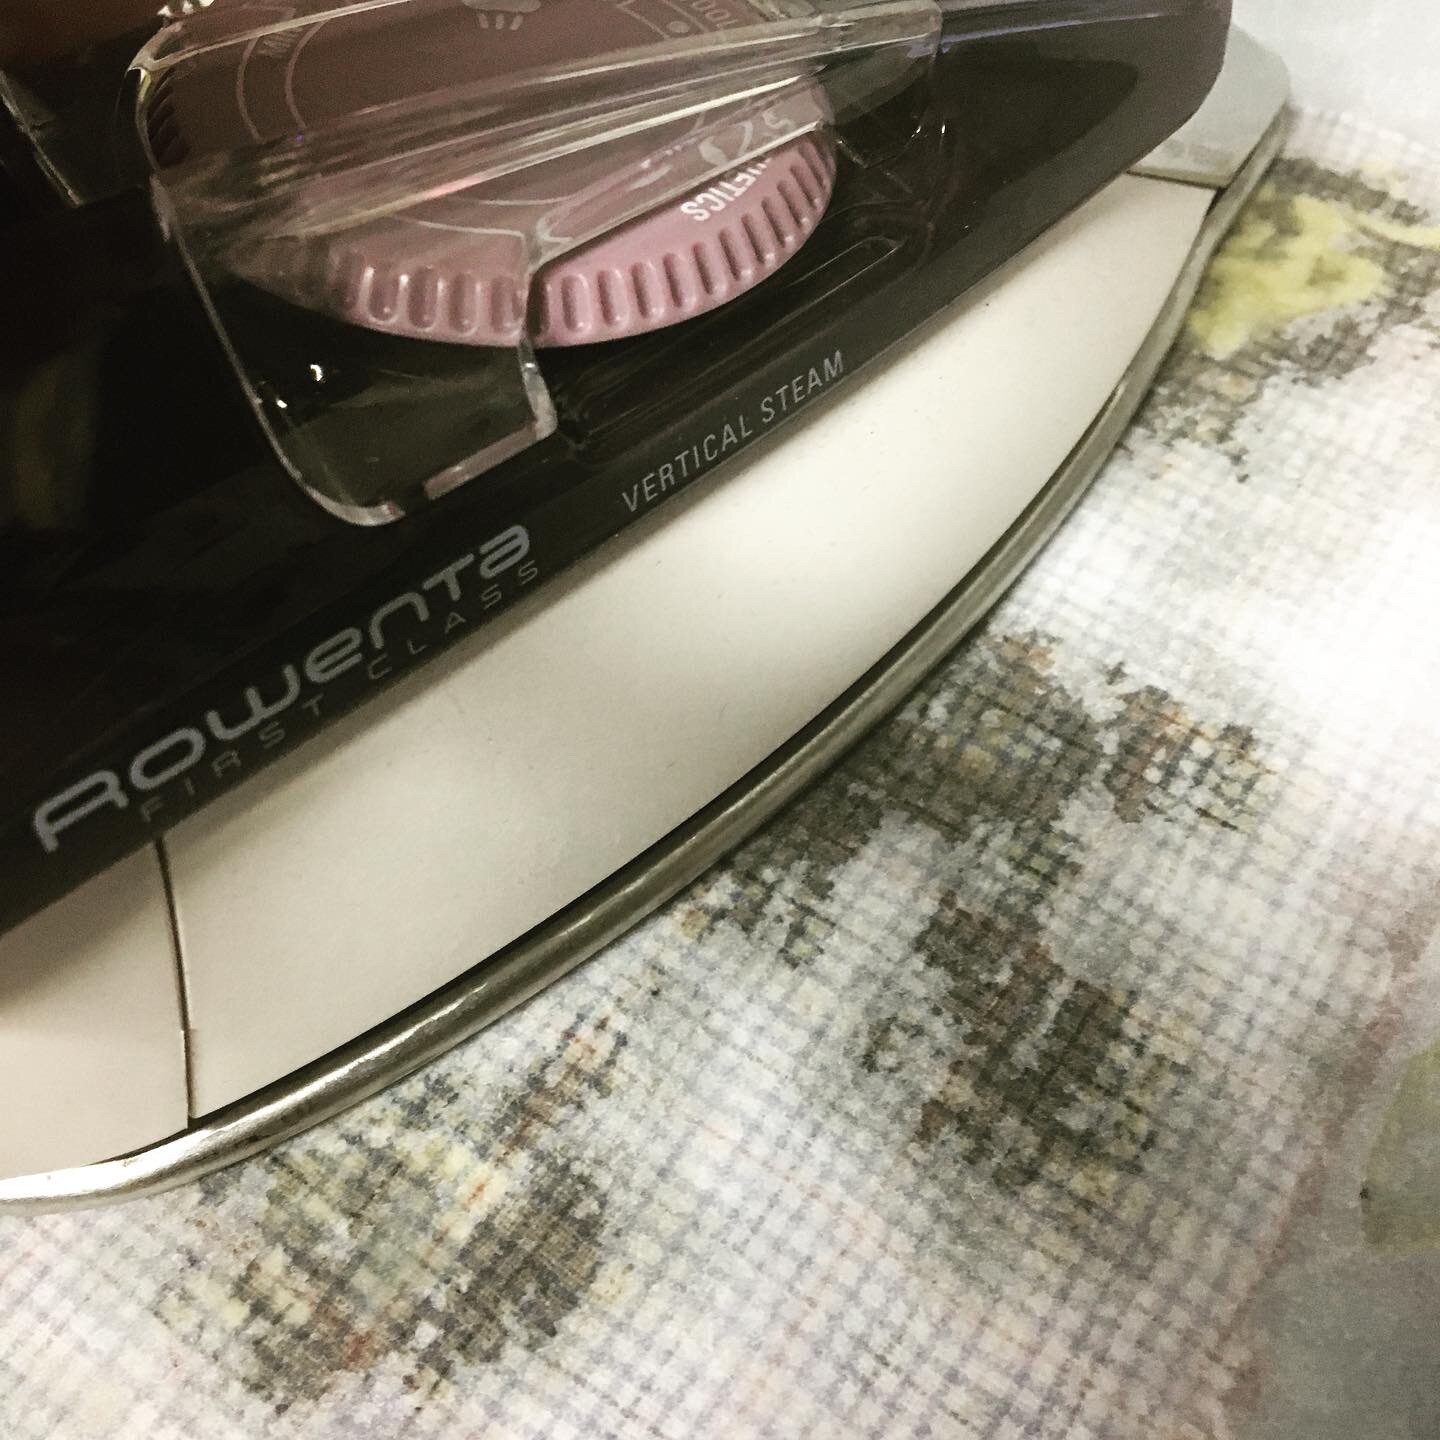
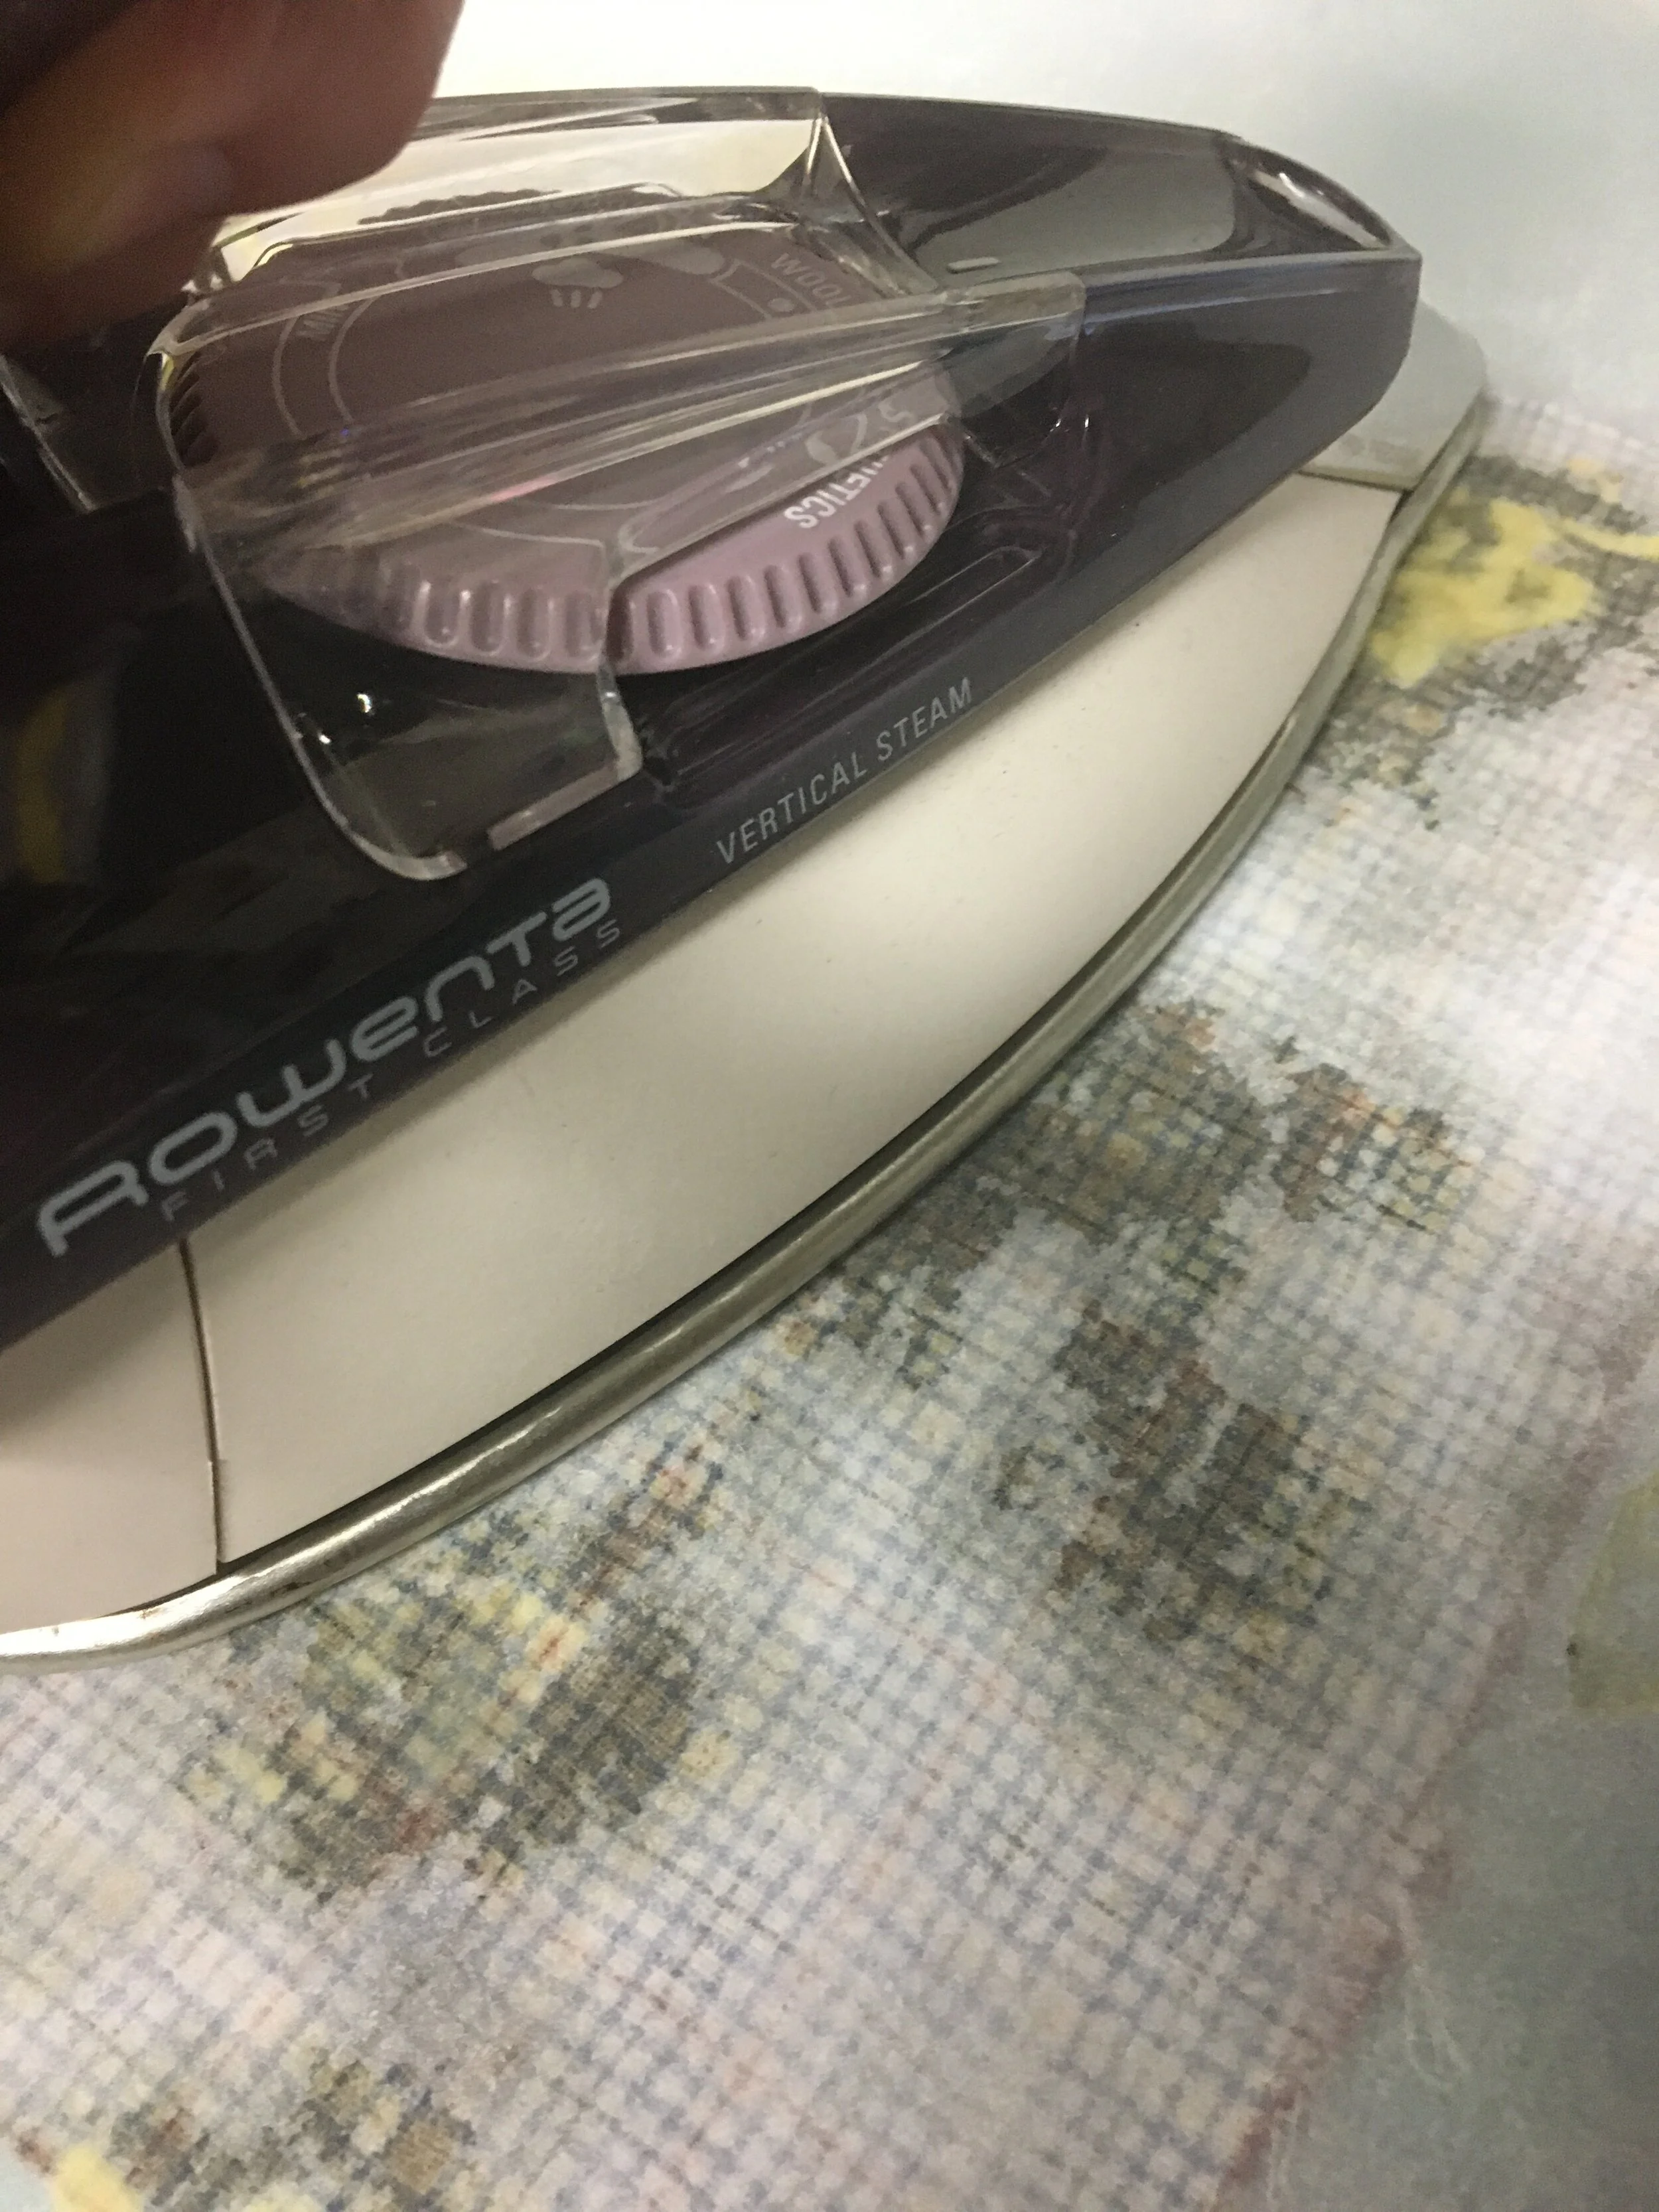
Then, grate your beeswax, coconut oil and resin over the fabric. Place another sheet of parchment paper over the top and begin to iron. I set my iron to wool, that’s where I got best results. Move the iron slowly and mindfully, spreading your wax mixture all over the fabric cuts.
When you are confident you’ve got full coverage, you can hang it to dry (be careful! Its hot!) Repeat with other cuts.
Once dry (hardened), check your sheets to make sure they are fully saturated in wax, if you think you can still feel the texture o the fabric, get some more wax and go over that area again. Repeat as needed.